Modify Your Pinwheel

Teacher feedback from 2017-2018: one teacher: "Pg 4. Some students really needed to be prodded to get to see how it becomes an asterisk or polygon. Maybe a hint button might help." --MF, 3/6/19

AC: They’ve experimented with the “second move” on the previous page. What’s new here is making the experiment programmatic by adding inputs. With a little surround, we could move directly to # 5. And is there a new idea in # 5?

AC: # 8 is repeated on the next page. Delete it here or there.

PG: Simplify. Al is right. The orange box feels like way too much, and too early.

On this page, you will modify your existing pinwheel block so that you can use it to draw a variety of shapes.
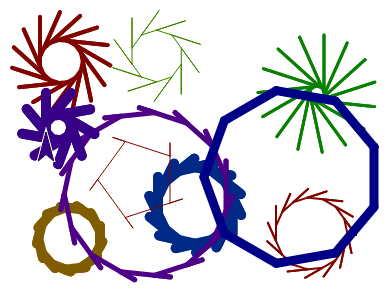
assortment of pinwheels

Adding Multiple Inputs

Recall how you first generalized your original pinwheel script: you added an input called number of branches that controlled the turning angle of the sprite. By adding more inputs, you can generalize other aspects of your program.

  1. If it isn't already open, open your U1L3-Pinwheel project.
  2. AAP-3.A part b
    Experiment with the input for the second move block inside your pinwheel block as shown below.
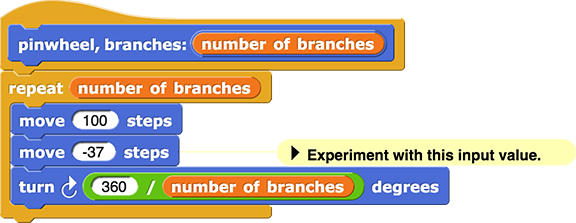
    1. Talk with Your Partner First predict. What do you think will happen?
    2. pinwheel block definition with comment asking students to experiment with the input for the second move block
    3. Then try several inputs between -100 and 0.
    4. Talk with Your Partner What happened? How does it compare to what you predicted? How does this input value impact the sprite's behavior? How does it impact the resulting image on the stage?
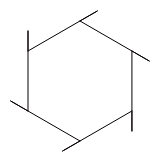
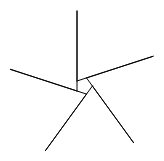
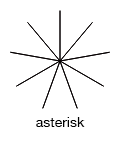
      Animation cycle from Asterisk to Polygon
  3. Review how to add an input at Unit 1 Lab 3 Page 3: Blocks with Input, if needed.
    Add a second input to control the amount of "backing up" that the sprite does before each turn through the full 360°.
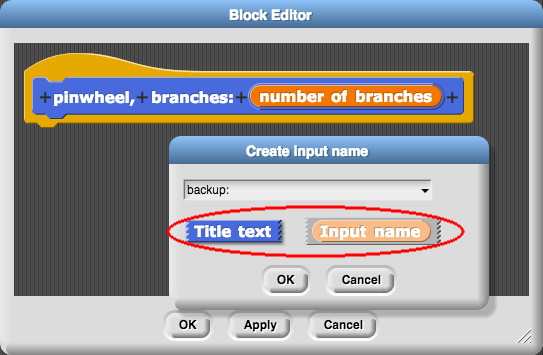
    1. Edit your pinwheel block, then click the "+" sign at the end to add an input label (choose "Title text"). Type backup: as shown below, and click "OK".
    2. Redo image with plain prototype labels. --MF, 5/14/19
      typing 'backup:' as Title text into Block Editor's Create input name window
    3. Then click the "+" sign at the end again to add an input (choose "Input name"), and call it backup.
    4. Drag off the new backup input, place it where it belongs in the pinwheel code, and press "OK" or "Apply."
    5. Check that changing the backup input value when running the pinwheel block gives the correct result. Debug any problems.
  4. Use an Operator block.
  5. Change the pinwheel script so that it will accept a positive value (between 0 and 100) for backup.
AAP-3.C.1, AAP-2.K.2
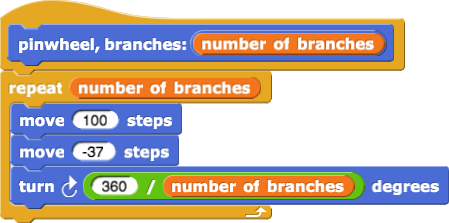
The procedure definition for the custom pinwheel command
pinwheel, branches: (number of branches)
{
    repeat(number of branches)
    {
        move (100) steps
        move (-37) steps
        turn clockwise (360 / number of branches) degrees
    }
}
would be written as
PROCEDURE pinwheel(numberOfBranches)
{
    REPEAT numberOfBranches TIMES
    {
        move(100)
        move(-37)
        turn_clockwise(360 / numberOfBranches)
    }
}
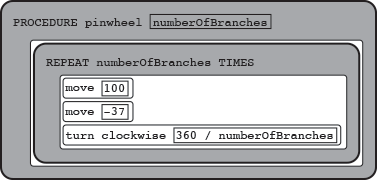
or
PROCEDURE pinwheel(numberOfBranches)
{
    REPEAT numberOfBranches TIMES
    {
        move (100)
        move (-37)
        turn_clockwise (360 / numberOfBranches)
    }
}
BRIAN, why is the HTML below this line commented out? --MF, 1/7/20
The procedures
move()
and
turn_clockwise()
aren't built in to the AP's language so they are written in lower case like other programmer-defined procedures.
This page is getting long. How about a page break here? --MF, 1/7/20

Debugging Tip: Organizing Your Code

Brian's one-off CSS here (and anywhere else) should be removed after the design is solidified. --MF, 1/7/20

One way to avoid having bugs in your program in the first place is to keep your code organized by deleting any unused scripts. You can use the clean up option by right-clicking (or control-clicking on a Mac) in the scripting area to organize your blocks. You can remove a block or script either by dragging it out of the scripting area and back to the palettes on the left or by choosing the "delete" option from the drop-down menu. Click here for a video. (Note that this is different from the "delete block definition" option which will permanently delete a custom block and all its instances from your entire project.)

Animation about deleting blocks by dragging them off to the palette or by choosing the delete option by right-clicking.

This feels kind of random and misplaced here. Can we move it after "Discuss what input values will give you a polygon or an asterisk." and add a problem, "Tidy up the code in your project, if necessary." I wouldn't nag them to do it again, but telling them about it and then giving them a chance to do it grounds the lesson. --MF, 1/7/20
  1. Add another input called size to control the input to the first move block.
    pinwheel, branches: (number of branches) size: (size) backup: (backup) hat block
  2. Try out a variety of inputs to your pinwheel program...
    setup; pinwheel, branches: (6) size: (80) backup: (20) image of result pinwheel, branches: (6) size: (80) backup: (20)
    To address part of Dan's concern, need to have an example where size is changed. --MF, 12/20/18
    setup; pinwheel, branches: (5) size: (80) backup: (60) image of result of  pinwheel, branches: (5) size: (80) backup: (60)
  3. From Dan: "mini-lesson on "input sliders" when showing how to make "pinwheel, branches" with "backup"." BH suggests a hinted yellow box here with link: "You can add a slider (with image showing) to watch what happens as you adjust an input." --MF, 4/9/19
  4. Talk with Your Partner Discuss what input values will give you a polygon or an asterisk.
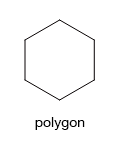
    polygon asterisk
Save your work
AAP-3.A.5
This instruction setup; pinwheel, branches: (6) size: (80) backup: (20) would be written as
Pinwheel(6, 80, 20)
or a white rounded rectangle containing first the word 'PINWHEEL' in all caps and then a smaller white rectangle containing the inputs '6, 80, 20'.

You may hear people use the term "pseudocode" to refer to this pseudo-language used on the AP CS Principles exam, but it's not pseudocode. Pseudocode isn't a programming language at all, it's the use of normal human language to describe an algorithm.

  1. Find inputs to pinwheel that make the result look like a circle.
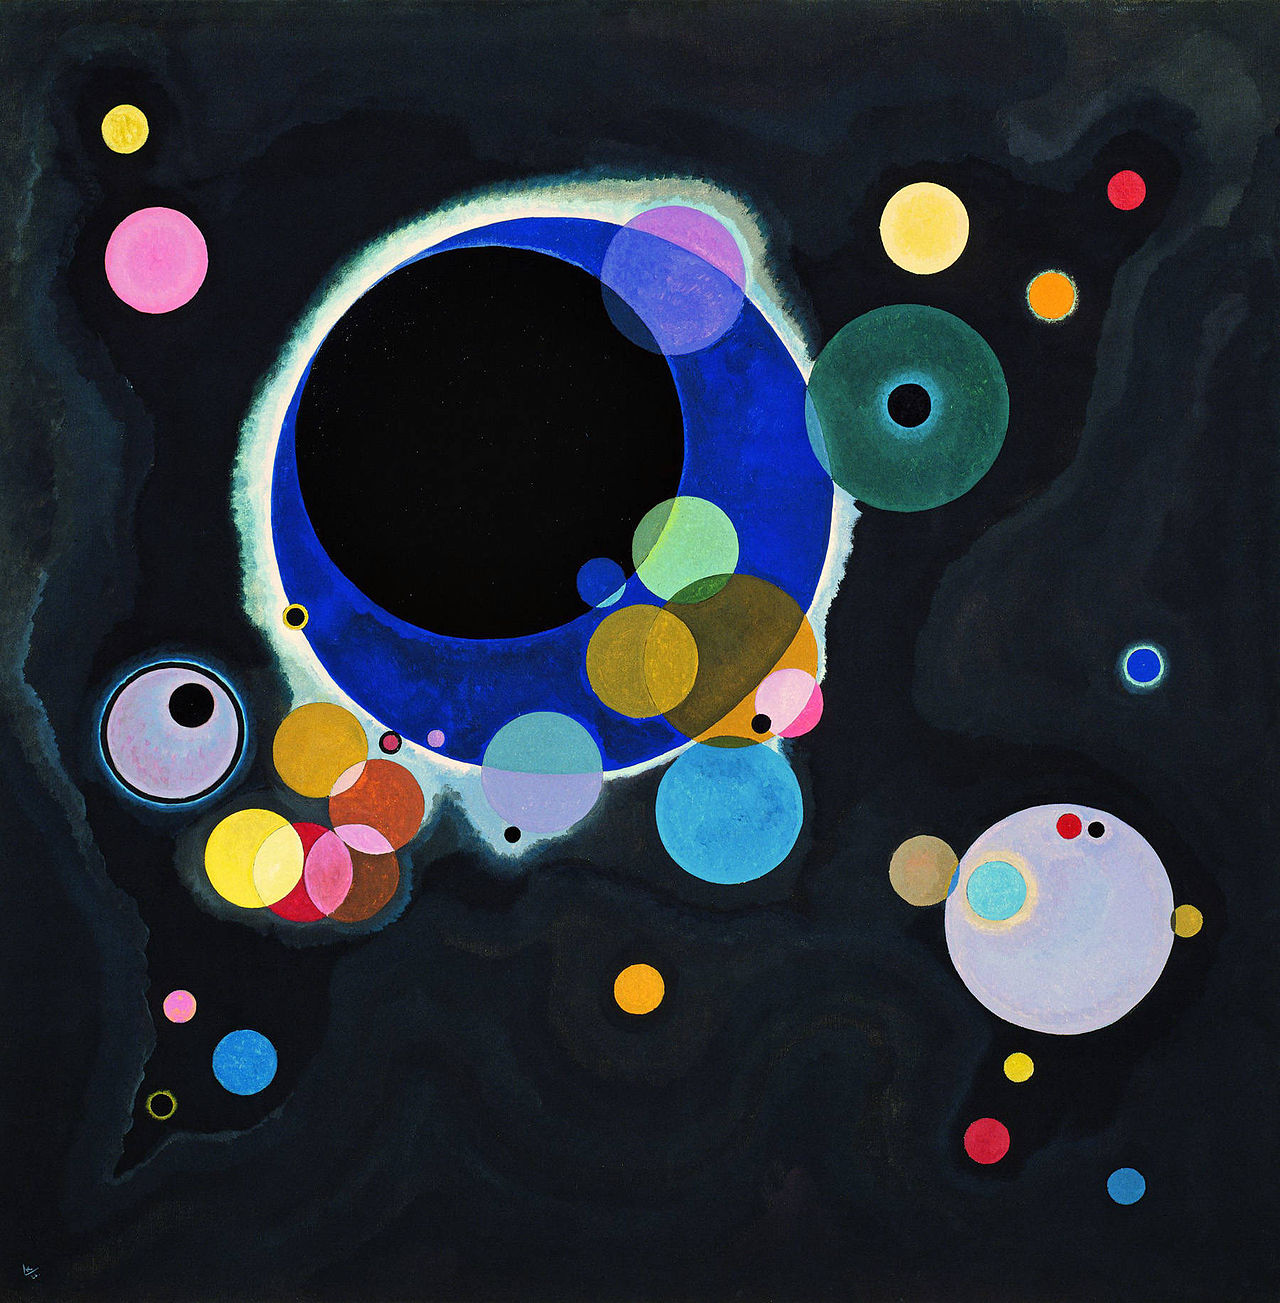
Kandinsky-style overlapping circles       Kandinsky-style overlapping circles       Kandinsky-style overlapping circles       Kandinsky-style overlapping circles
painting by Kandinsky
  1. On the right is a painting by Vassily Kandinsky. The four pictures above were inspired by it, but the sizes and placement of the circles in the original were carefully chosen, whereas the ones above are random. Also, Kandinsky's solid circles aren't quite uniform in color. For example, the green circle near the top right of the picture has a light green outer border, a somewhat darker green inside, a blue-green inner border, and black inside that.
    When two solid circles overlap, you can see both colors, or rather, a color in between the two. To achieve that effect in Snap!, before drawing the second circle, use the block. A transparency of 0 means you see only the new color; a transparency of 100 means you see only the old color. In-between values determine which color is stronger in the overlapping area.
    Most of Kandinsky's circles are solid, but a few aren't. most notably the large white "halo" near the middle of the painting. His hollow circles don't have a constant width; if you want yours to look like his, change the pen size a little as you're drawing. But of course you don't have to make your art look exactly like his, nor exactly like the examples above. Use them for inspiration, but you're the artist.
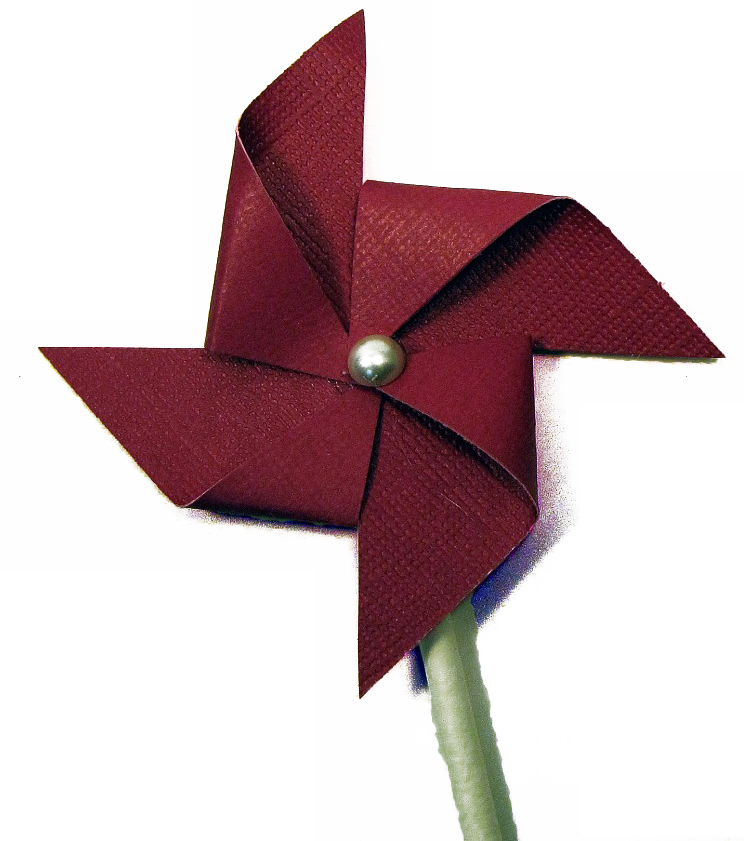
  2. Make a picture that looks more like a real pinwheel:
    pinwheel photo
    Copyright 2010 Victoria Hudgins. Used by permission.

    (Save your project first; you'll need the pinwheel block you already have later.)

    It doesn't have to look exactly like the photo. But each arm of a pinwheel is essentially two triangles. You may find the fill block block helpful.