In this project, you will learn how to use thick lines (with round or flat ends) to design artwork of your own.
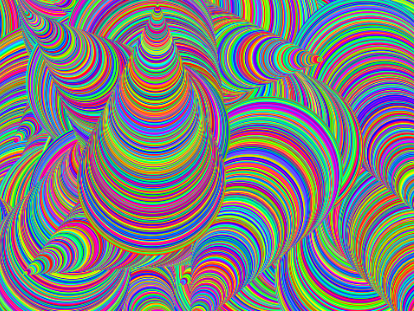
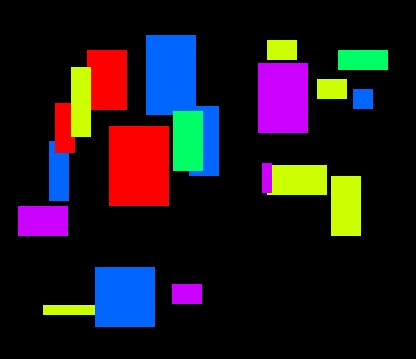
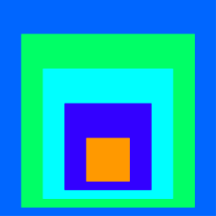
But for our sake—not worth working through for your proposal—I would add that the “delighted to see how easy it is to generate exciting variations of their artworks through simple alterations of their code” is particularly apparent in the rock-bottom simplest algorithm for generating the art of Albers: square within square within square. By simply changing the distance between squares, or the “length” of the squares (the rectangularity), or the shape of line ends (flat to round), one gets shaded triangles, “roads going off to infinity,” cylinders, tunnels, spheres, circles within circles, stacking toys. The entire algorithm is pen down, move, pen up, move, optional color or shade change, optional size change, all repeated. Nothing fancier than early unit 1 stuff. It should be part of the message of unit 1, not because it is artistically motivating (though it is) but because of what you said: tiny variations in an algorithm can have profound consequences. It helps make clear what an algorithm is, because the details matter so much, and therefore need clear expression.
In this project, you will learn how to use thick lines (with round or flat ends) to design artwork of your own.


flat line ends off.
Then try the first two experiments again.tunnel does.tunnel to see how it works.tunnel. Change only one or two at a time, to see what they do. for loop changes.set pen size to (i × 50) and move (i × 50) steps do?move (i × -50) steps do?sphere block works.
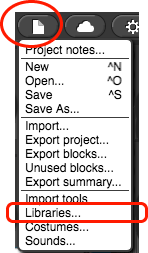
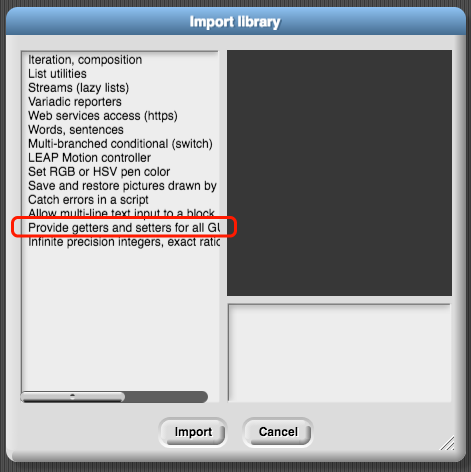
 . If you want it for other projects, you can load it from the Snap! File menu by selecting "Provide getters and setters..." as shown below.