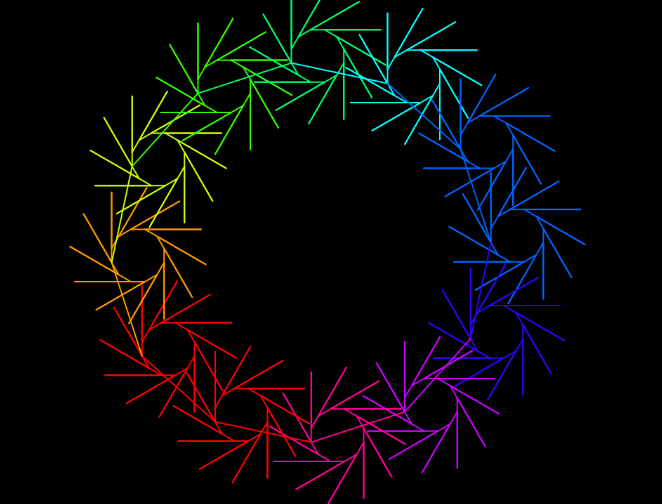
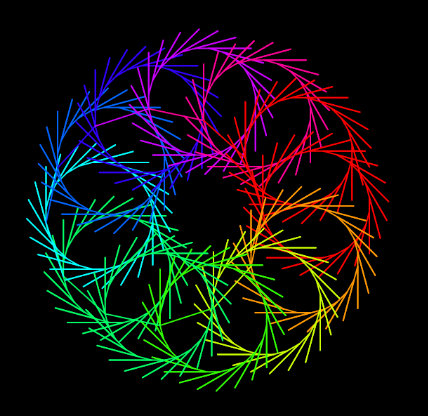
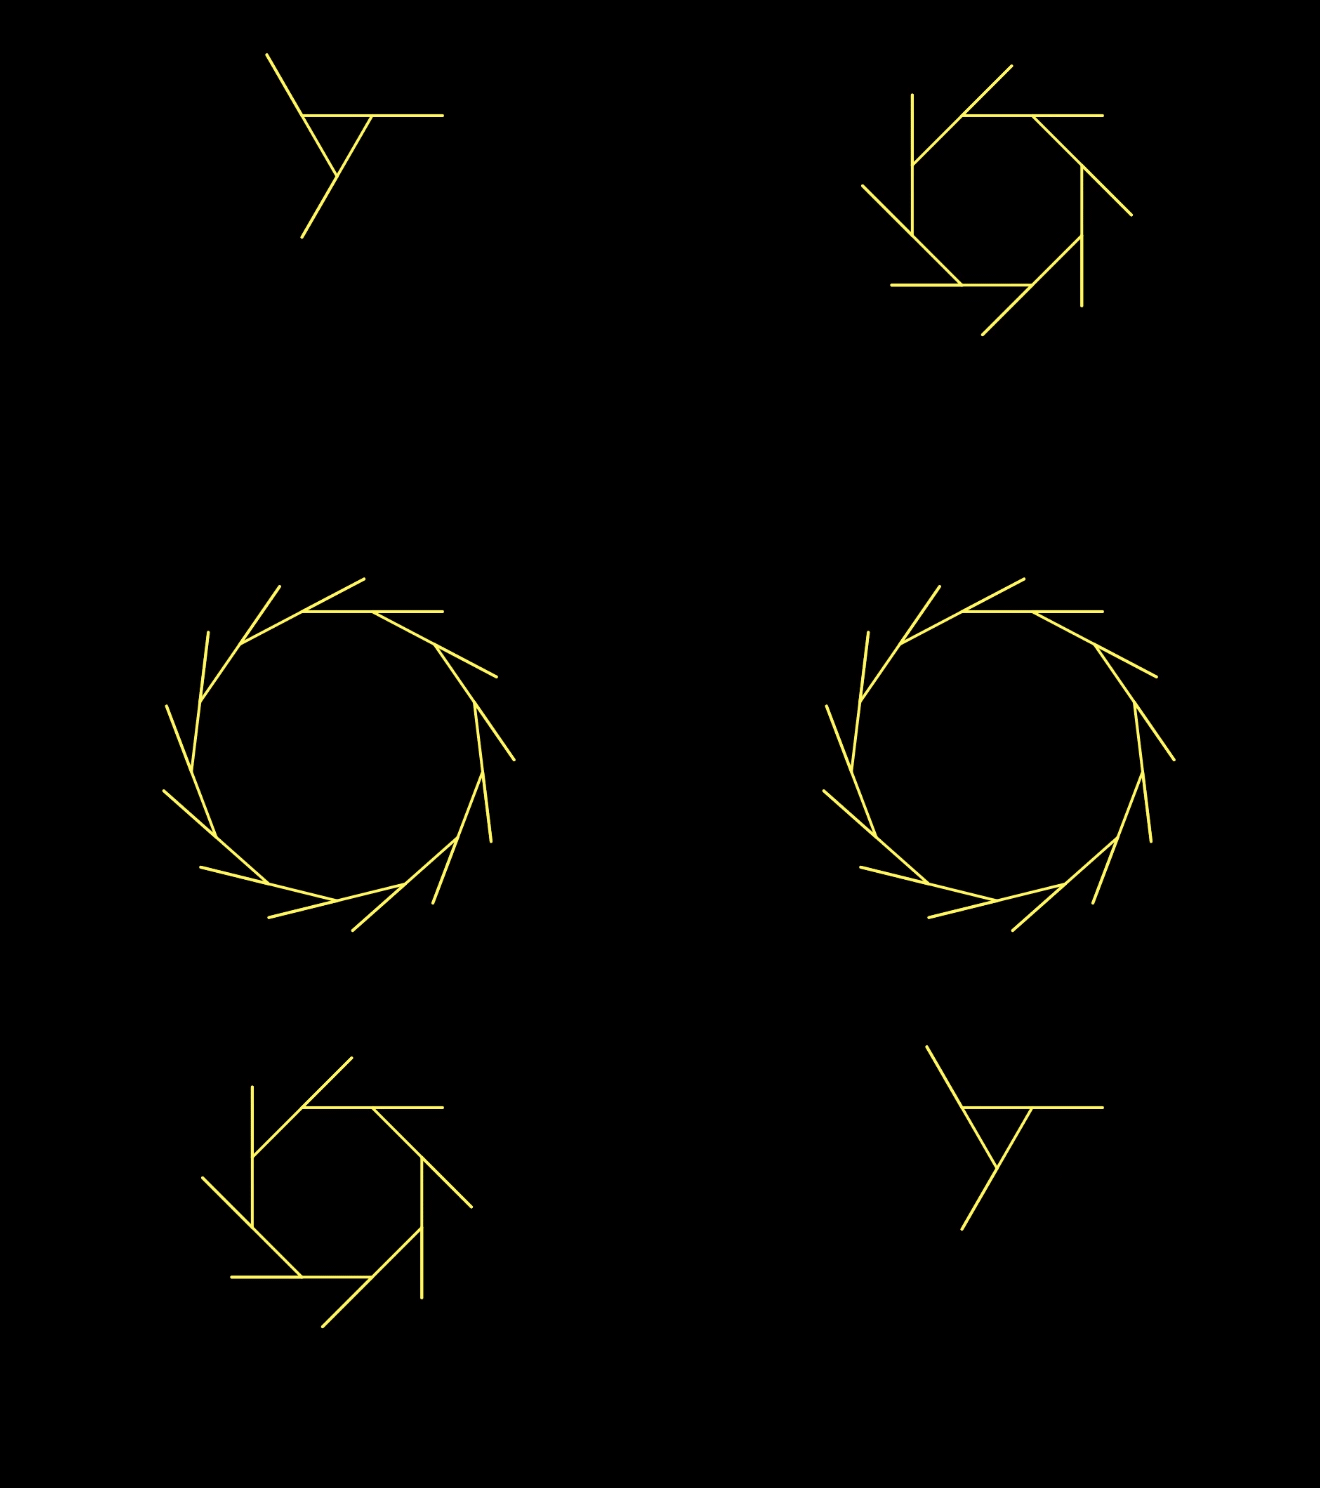
On this page, you will use inputs to allow one block to do many things.
On the previous page you used blocks asterisk and pinwheel that we wrote for you, each with an input for the number of spokes. Now you're going to learn how to create your own blocks with inputs.
The scripts are essentially all the same; only some of the input values change. Instead of having many separate scripts, you can make one general block  that will draw all such designs. The block has to work for a variety of inputs.
pinwheel block with an input for the number of branches. Instructions are below and you can also watch the process in the video that follows the instructions.
pinwheel, branches:.

This block is about moving your sprite, so you might choose the blue Motion palette.
Using a comma and a colon are not requirements; they are here to help with clarity.
branches:", type the name of the input, and click OK to add the input slot. For this project, click the + after "branches:" and type number of branches as the name of your input.

pinwheel block inside the hat block is called the prototype of the block. As you add inputs and maybe title text to the prototype, it looks exactly like what the finished block will look like to the user, except that where the input slots go, there are orange ovals containing the names of the inputs.
pinwheel hat block.All kinds of data. In this example, the input is supposed to be a number, but any kind of value can be used as an input. For instance, you've seen the list block called with text as inputs. In Snap!, any kind of data can be used as an input, can be reported by a block, or can be put in a list.
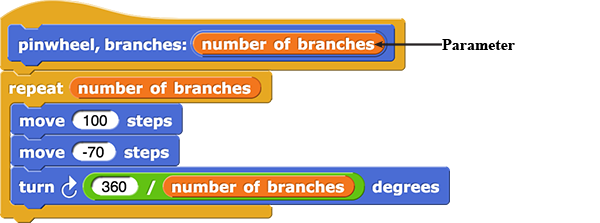

Originally, you made five copies of the pinwheel script to create five slightly different pinwheels. Now, you've made a single procedure that includes the shared features of these five scripts and uses a parameter to handle the differences.
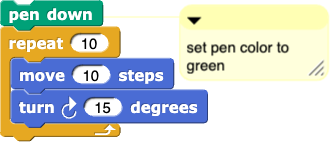
Adding comments to your code may help you remember what your code does, helps other people reading your code to understand it, and can help you avoid bugs by increasing the clarity of your program. But it won't do any of those things if you comment every line of code, so each comment just says how a block inside your script works. You can add comments to your Snap! code by right-clicking (or control-clicking) in the Scripts area and choosing "add comment." Click for an animation that shows how.
You can attach a comment to the hat block in the Block Editor to create a help message for your block. This is the best way to comment, because people can find out what your block does without having to look inside, just like the help messages for primitive blocks.
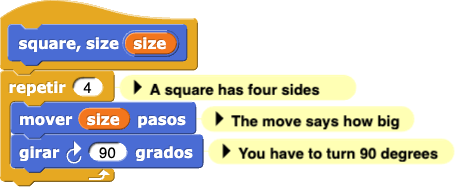
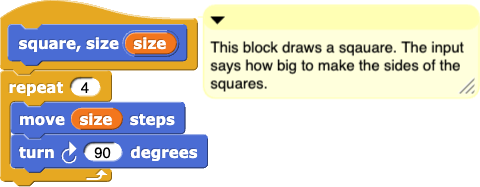

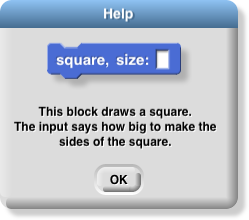
Part of the reason some people emphasize the importance of detailed comments is that they are programming in text languages, which discourage long variable and procedure names. (Typically, you can't include spaces in the names, and you have to type the entire name every time you use that variable or procedure.) So you see names like substLcUc instead of substitute lower case letters for upper case letters in string. If a program is full of drastically abbreviated names for procedures and variables, it's no surprise if the code needs documentation. In Snap!, the names in the program can be self-documenting.
Commenting is only one form of documentation. It's not the best form, because attaching a comment to a particular place in the program documents only that one procedure or code segment, and doesn't explain how different sections of the program interact. But commenting is an easy way to document small details.
Documentation can be external (written for users of the program) or internal (written for yourself or other developers of the program). Both kinds are important, if it's a program people other than the author are going to use. Usually they should be separate documents—another reason why comments aren't the best form of documentation.
If you're writing a program by yourself, internal documentation may seem silly. "I know how my own program works." But if the program will still be in use a year later, it will probably need maintenance, and you may well have forgotten the details of its implementation. In a programming class like this one, most of the programs you write are very small, and you can understand them at a glance. But real programs are generally much bigger than lab exercises designed to take less than an hour of work.
It's best if the first attempt at documentation is made even before starting to code. The documentation will specify the desired program behavior (external) and the intended program structure (internal). These documents can be used in testing the code to ensure that it behaves as planned.
When you embed a command procedure (such as pinwheel) within a script, the procedure is completed before continuing the script that called it.
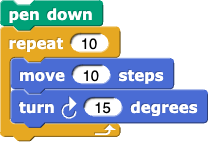
pinwheel block and set pen color. Create your own art.